BRANNTUVA HIKING GUIDE
Selfjord, Moskenesøy
702 meters
6 km
Moderate
3-4 hours
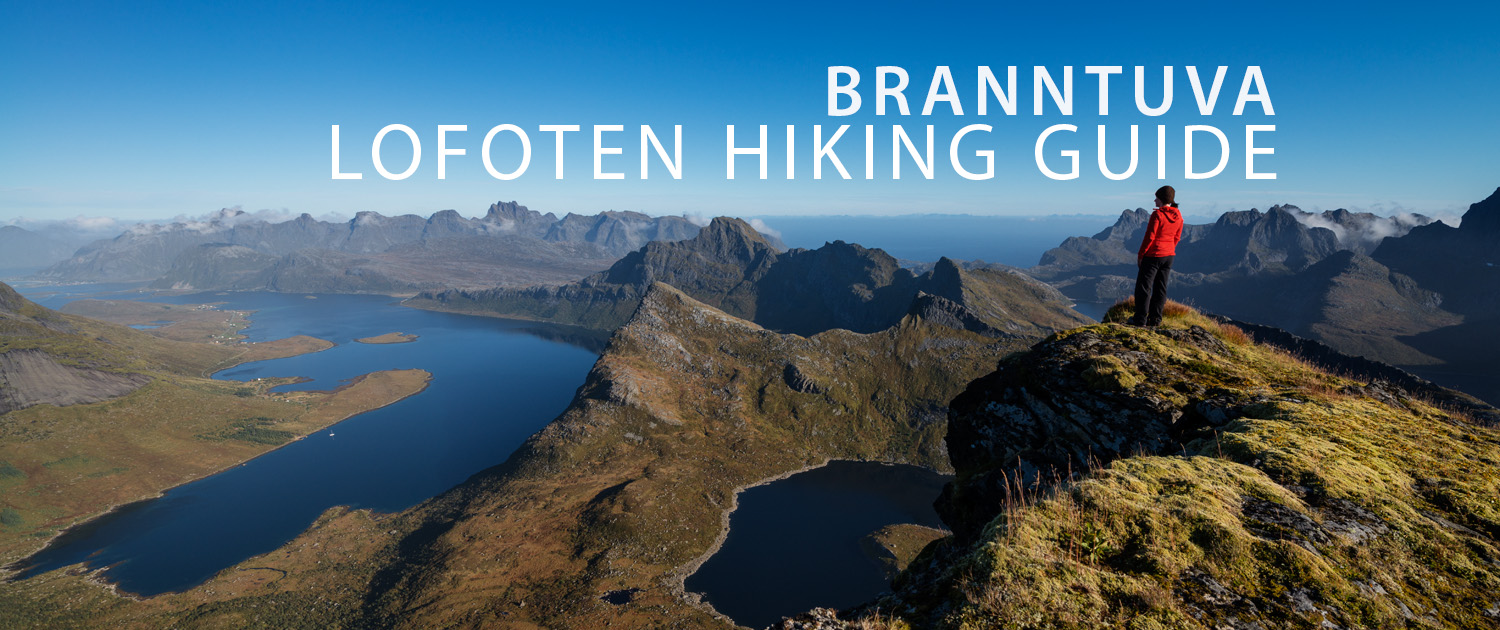
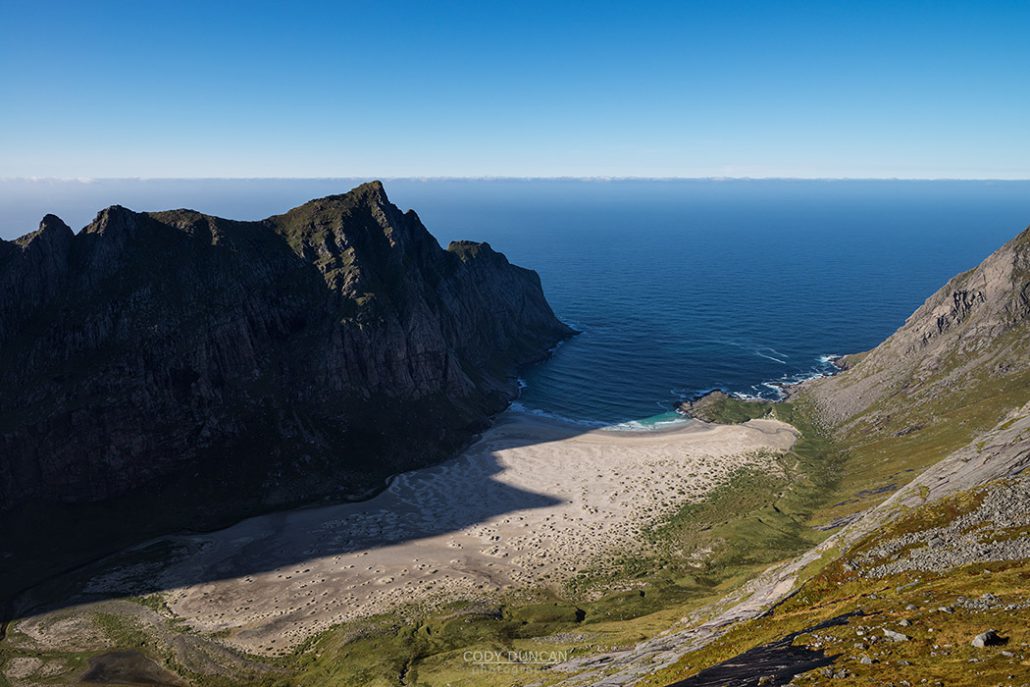
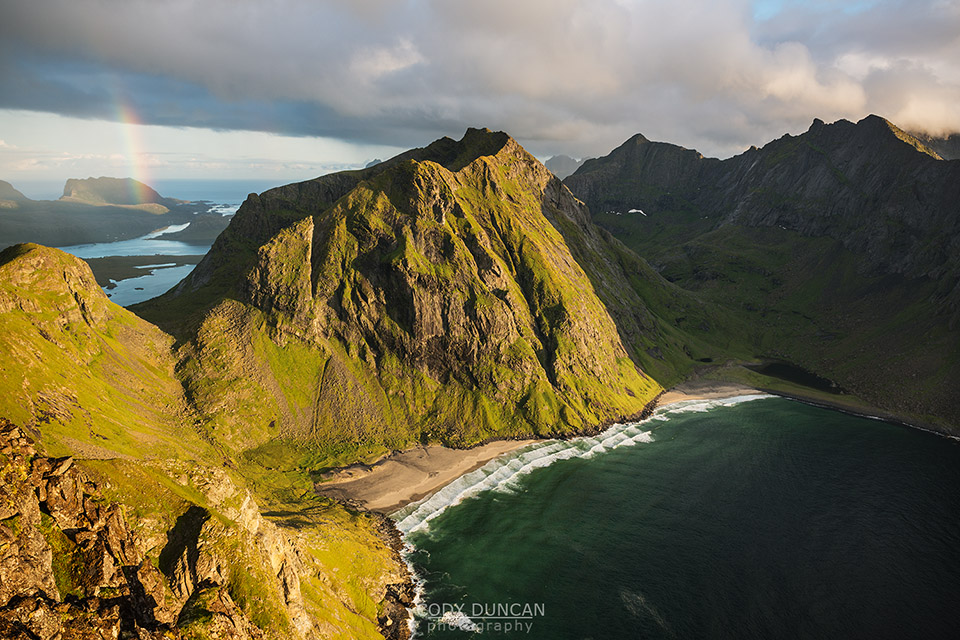
The summit of Branntuva is a wild and lonely place. A somewhat obscure mountain of moderate height, there is no trail leading to the flat-broad summit, ending dramatically in vertical cliffs on one side. But just because few people travel to this slightly-difficult to reach peak, doesn’t mean the views can’t compete with some of Lofoten’s more popular mountains. The highlight of this mountain is the spectacular view over Horseid beach.
Getting There
The route begins at the Selfjord Hytte, located on the north side of the appropriately named Selfjord, on Moskenesøy. Traveling along the E10, drive in the direction Flakstadøy. Exit the E10 and cross the twin bridges towards Fredvang. Turn left into Fredvang and continue through the village in the direction of Krystad. After about 6km the pavement will end as you come to an intersection. Turn right here, continuing on along the Fjord. Continue along the unpaved road for another 3.4 Kilometers until you come to a small parking area just past some houses. The road beyond this point is signposted as no parking.
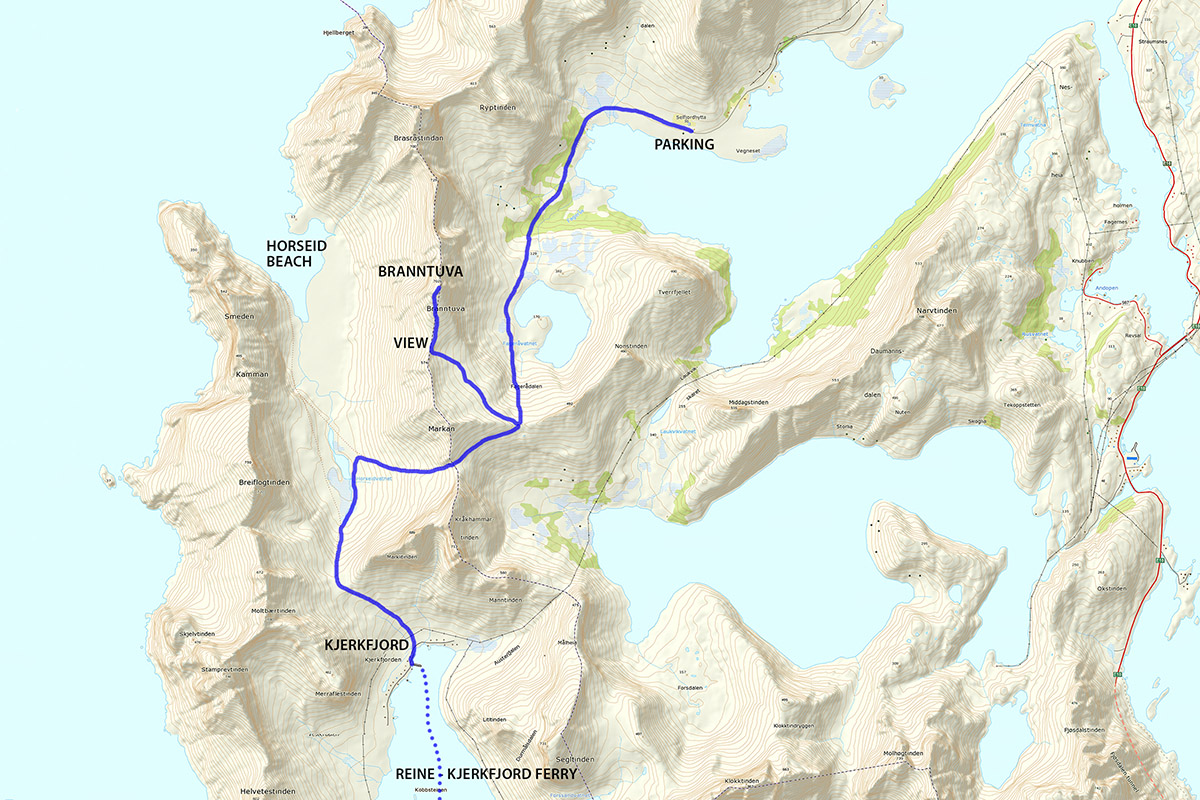
It is also possible to approach the mountain via Kirkefjord and Horseid beach. I have shown the route on the map, but I am not describing the hike here.
The Trail
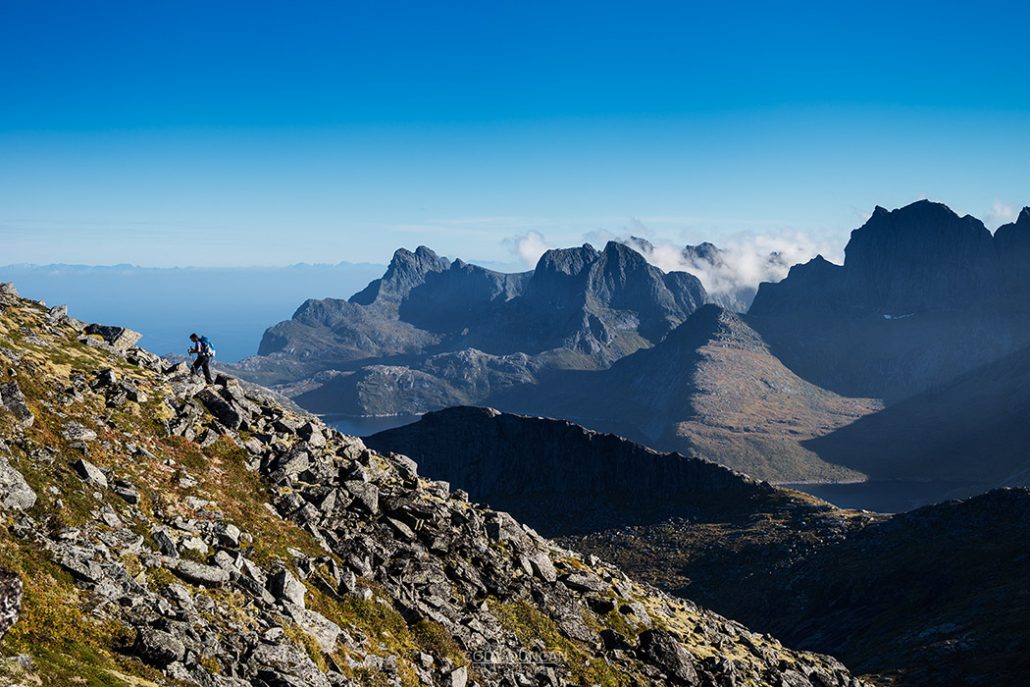
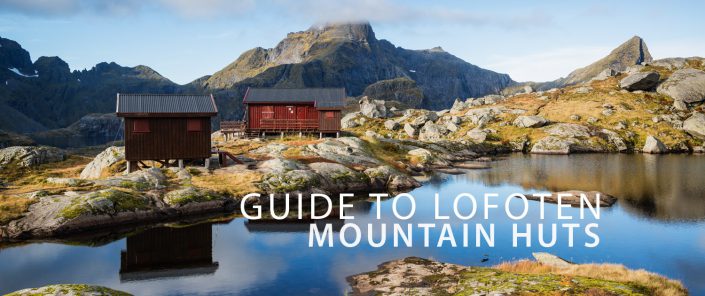
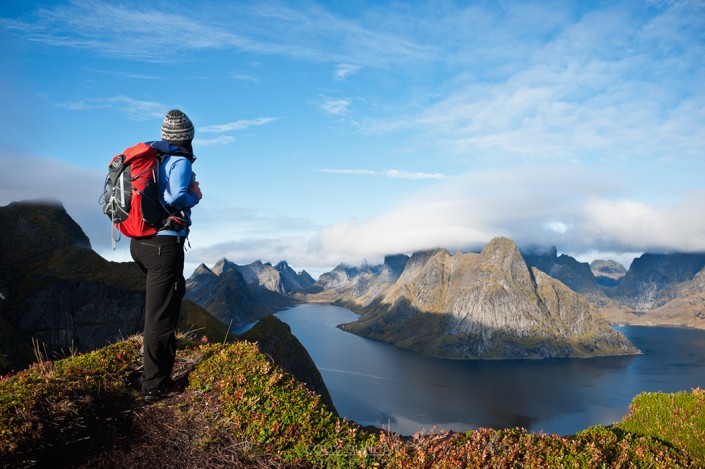
Walk down the road from the parking area. After about 100 meters you will pass Selfjord Hytte (the brown buildings) and a couple other houses. Continuing straight on the road and take the trail that leads directly into the small forest area. You will quickly leave the trees and be provided with fantastic views over the end of the fjord and the spectacularly steep surrounding mountains. Branntuva is the flat looking mountaintain on the left side of the ridge in the distance. From this vantage point the trail is going to take you around the end of the fjord and continue up the low rise towards the left as the route slowly begins to gain elevation.
This first section around the back of the fjord is the worst section. It is entirely boggy and anything other than the most waterproof boots will become completely soaked over the next 1 kilometer of trail. If you have sandals, you might prefer to wear them to keep you shoes dry for the rest of the trail. Otherwise, just accept the wetness and plow on through, any attempts at keeping dry feet will be futile.
Following the trail down to the far end of the fjord you will first pass a small shelter located in a small grove of trees and then a small creek. The worst of the boggy section is over now, but there still remains multiple sections of swampy or muddy ground.
Keep to the trail as it slowly begins to gain elevation and begins to turn more rocky in nature as it enters the low birch forest. Another short while and you will reach the first steep-ish climb of the route as you follow a (mostly) dry creek up a steep rise before shortly leaving the forest as you approach the small pond. Continue along the lake as you make your way towards the obvious mountain pass that lies ahead of you.
As you approach the pass, the trail weaves its way around boulders, over tress, and zig zags for no apparent reason. Soon enough the trees will begin to thin as you near the bottom of the pass.
Not to waste words, I would describe the condition of the pass as rather bad. It is steep, often slippery and muddy, with several sections of water seepage flowing over mud covered rocks offering few desirable foot placements. Overall, it is an ascent of about 250 meters until you reach the pass Fageråskaret at about 400 meters. Take a rest here, as you are now about to leave the trail and head cross country.
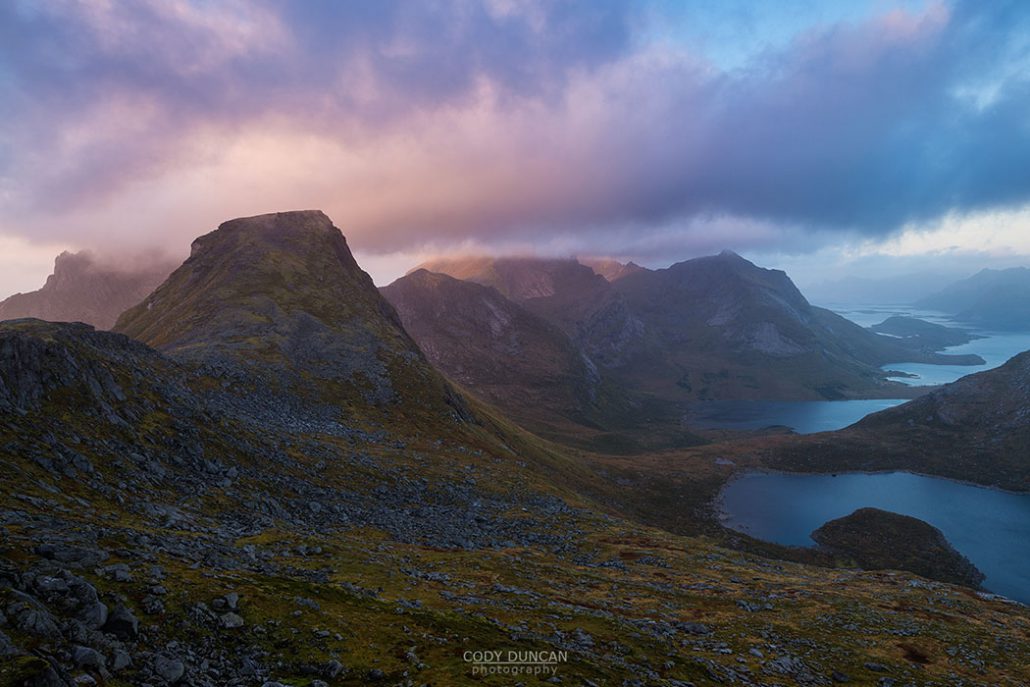
Having reached Fageråaskaret pass, you are now at about the half way point. Turning around, and looking north back along the route you just hiked, Branntuva is the round looking mountain on your left, rising above the valley below. From here, this is no more trail to follow.
From Fageraskaret pass, you want to head in the general direction of the low part of the ridge to the left of Branntuva. The route across the hillside is a mixture of rock, grass, and bog. In general, keeping to the middle of the route seems to be the best option – too low and it gets boggy, too high and it’s a bit more rocky. There is a little bit of a steep section upon final approach, but it shouldn’t cause any difficulties if you’ve made it that far.
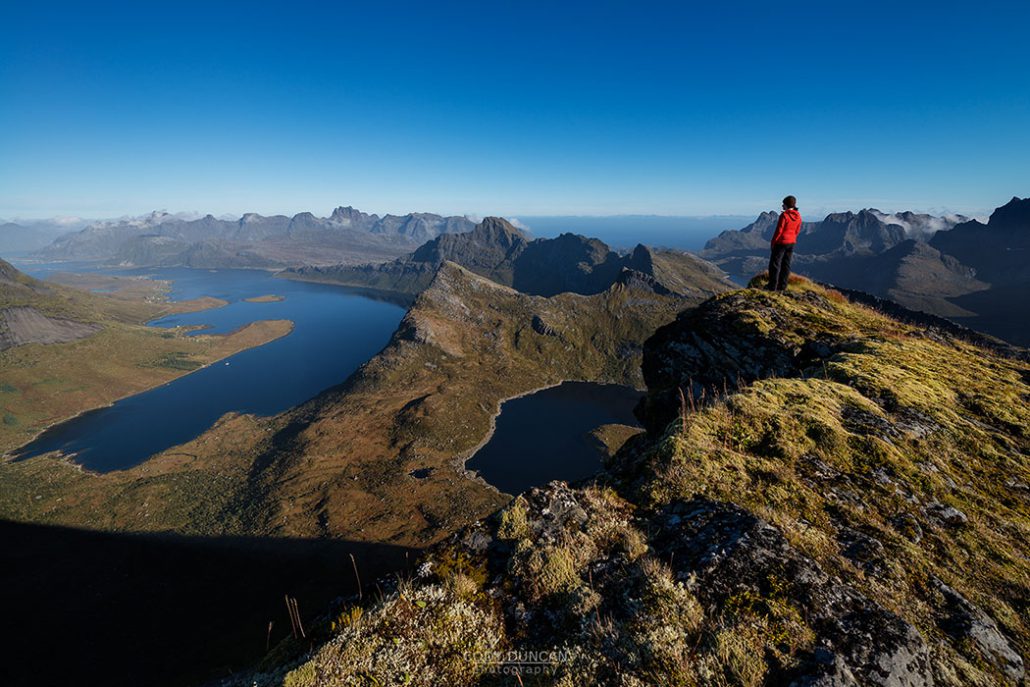
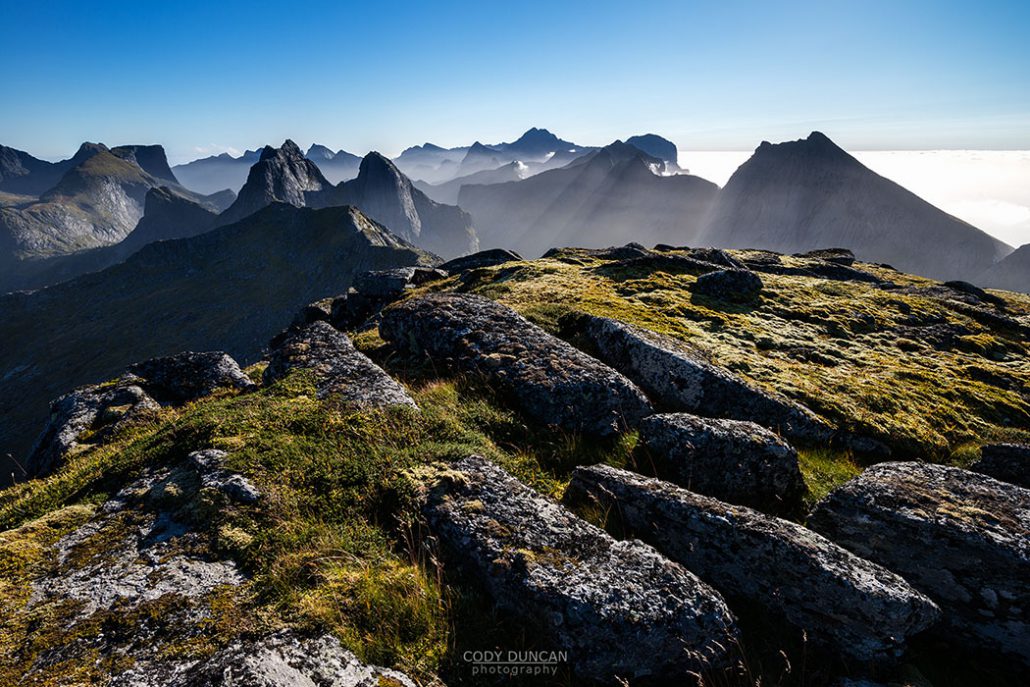
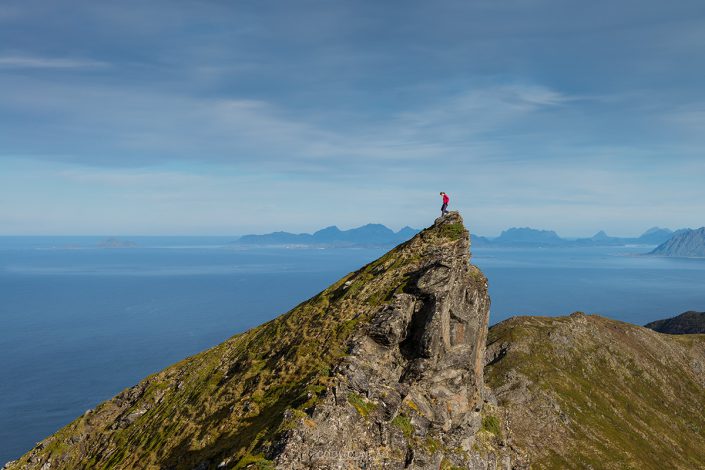
As you reach the ridge, you will now have the first overlook of Horseid beach. The views from here are fantastic, but to get a slightly better photographic angle, you can take a slight detour back along the rocky ridge towards Markan, stopping as you reach the first highpoint. The boulders here are loose, and negotiating them is slow, but the improved view point is worth it.
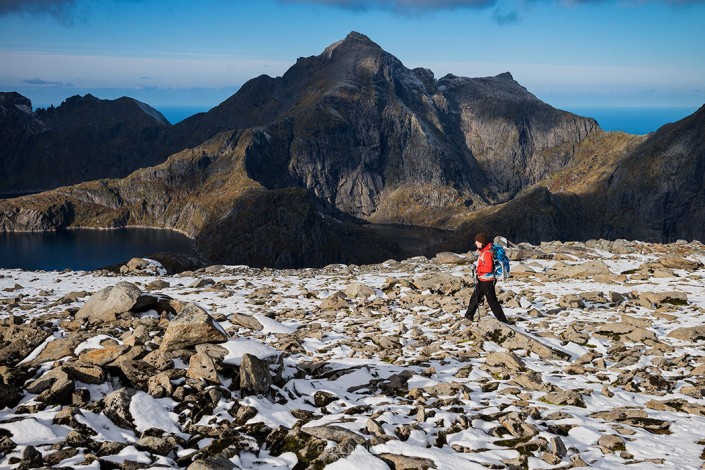
From the ridge, the south face of Branntuva ascends at a moderate angle for another 200 meters above you. The route is a mixture of rock, and moss covered rock. The rock tends to be a bit loose overall, so ascend with caution. Some sections on the moss can make things a bit quicker, but not always. Just keep going up the middle of the face.
As you near the final meters of the route, begin heading back towards the ridge on the left as you head towards the summit. If you’re lucky, you might pickup the faint signs of an old trail, if not, no problem.
The mountain gradually flattens out as you reach the summit. If you head to the left at first, you will again have a spectacular overview of Horseid beach. Looking towards the east, you will see the small cairn marking the summit. The east face ends in a sheer cliff, so be careful no to walk too far!
Due to the cross country route requirements, along with some surrounding steep cliffs, I only recommend heading up Branntuva if you can be assured of good visibility for the duration of you hike. With no trail to follow, it can be easy to get lost if your visibility becomes compromised by weather.
Camping
The first obvious camping spot is Fageråaskaret pass. There are several good locations for a tent, and it is also a good base for exploring some of the other nearby mountains. No water available.
On the low point of the ridge below Branntuva’s south face are a couple places for a tent between all the rocks. No water, you will have to head back down the hill a bit to one of the small pools on the hillside.
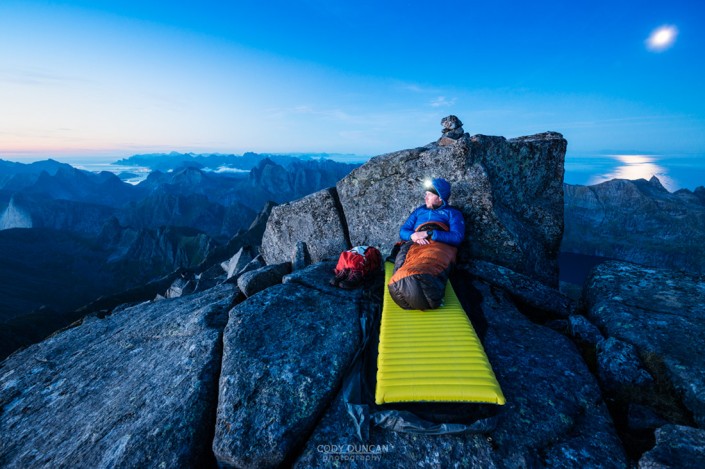
The summit is also suitable for a small tent. There will be no shelter from the weather, so be aware of the forecast. No water available

