TINDSTIND HIKING GUIDE
Sørvågen, Moskenesøy
490 meters
2 km
Easy/Moderate
1-1.5 hours
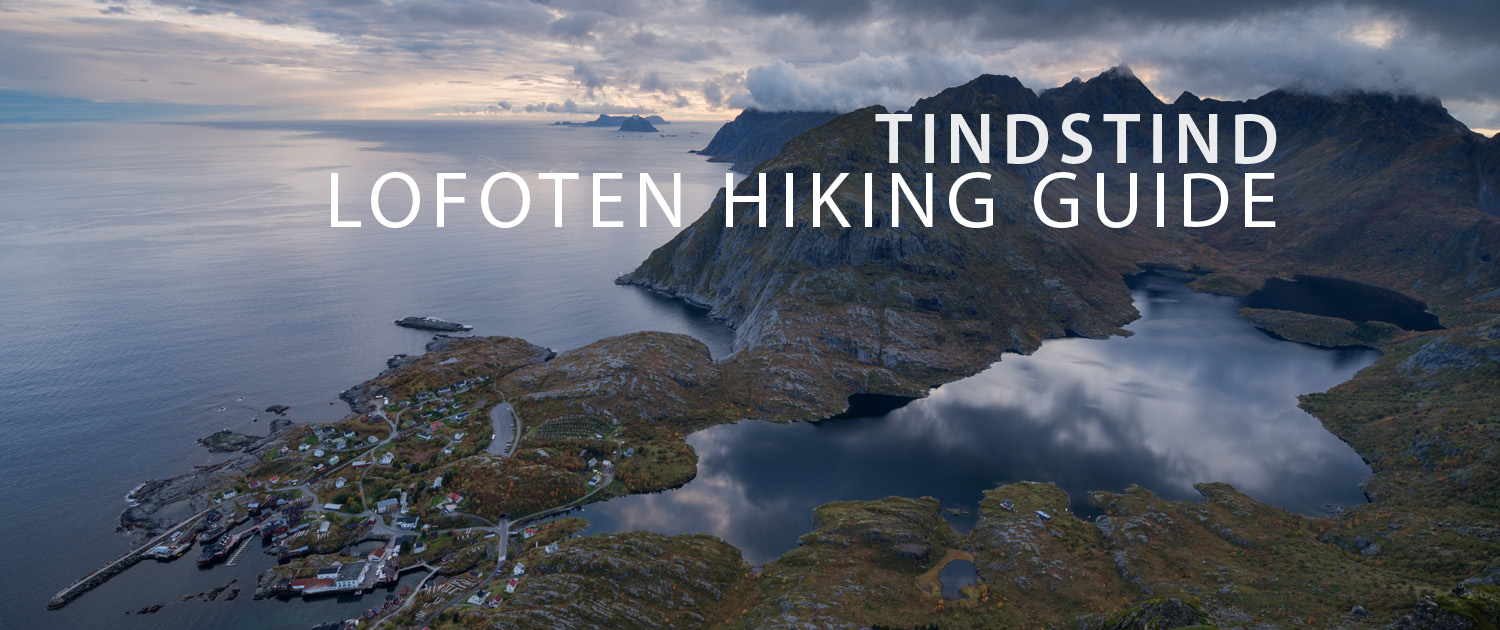
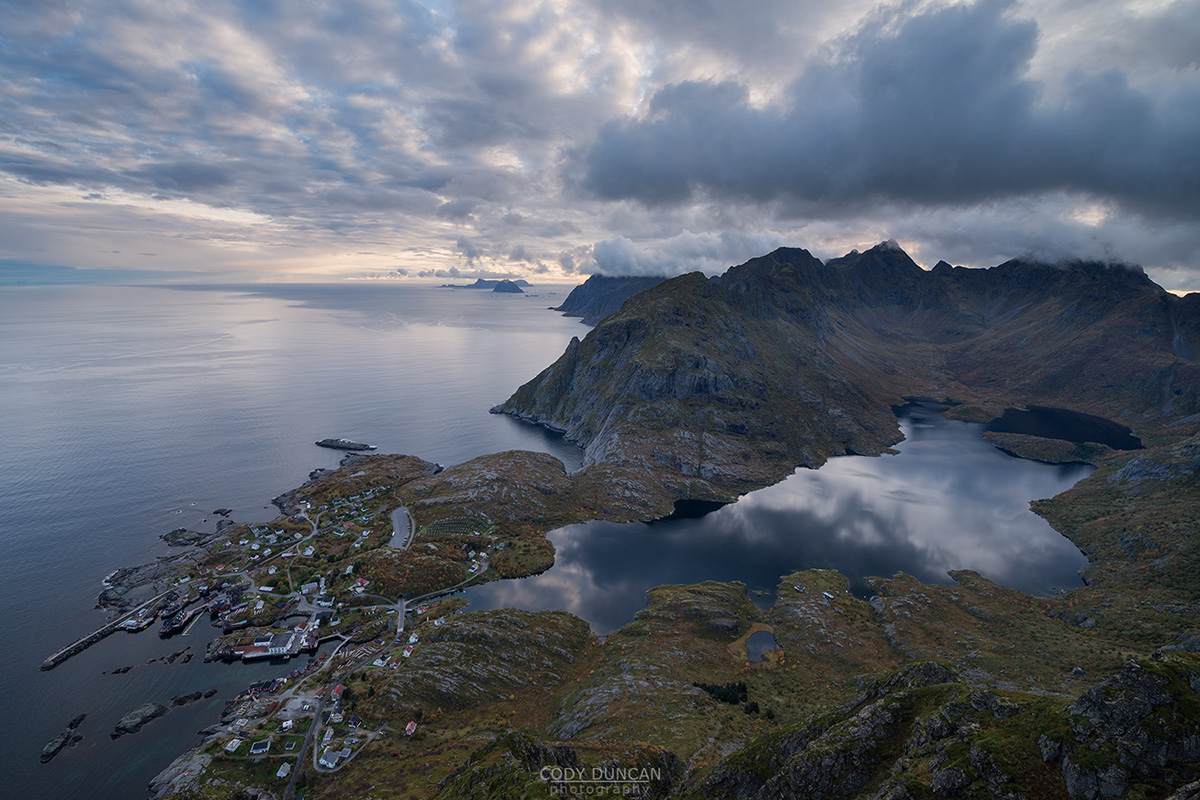
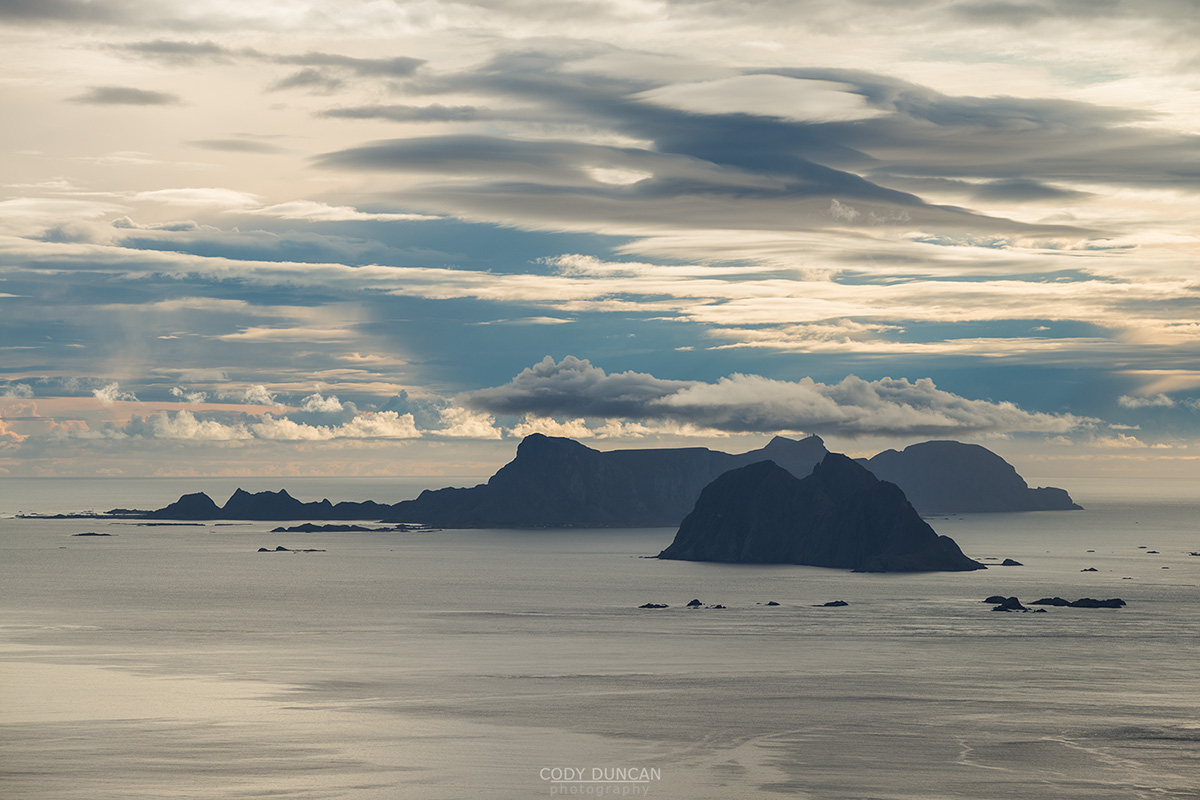
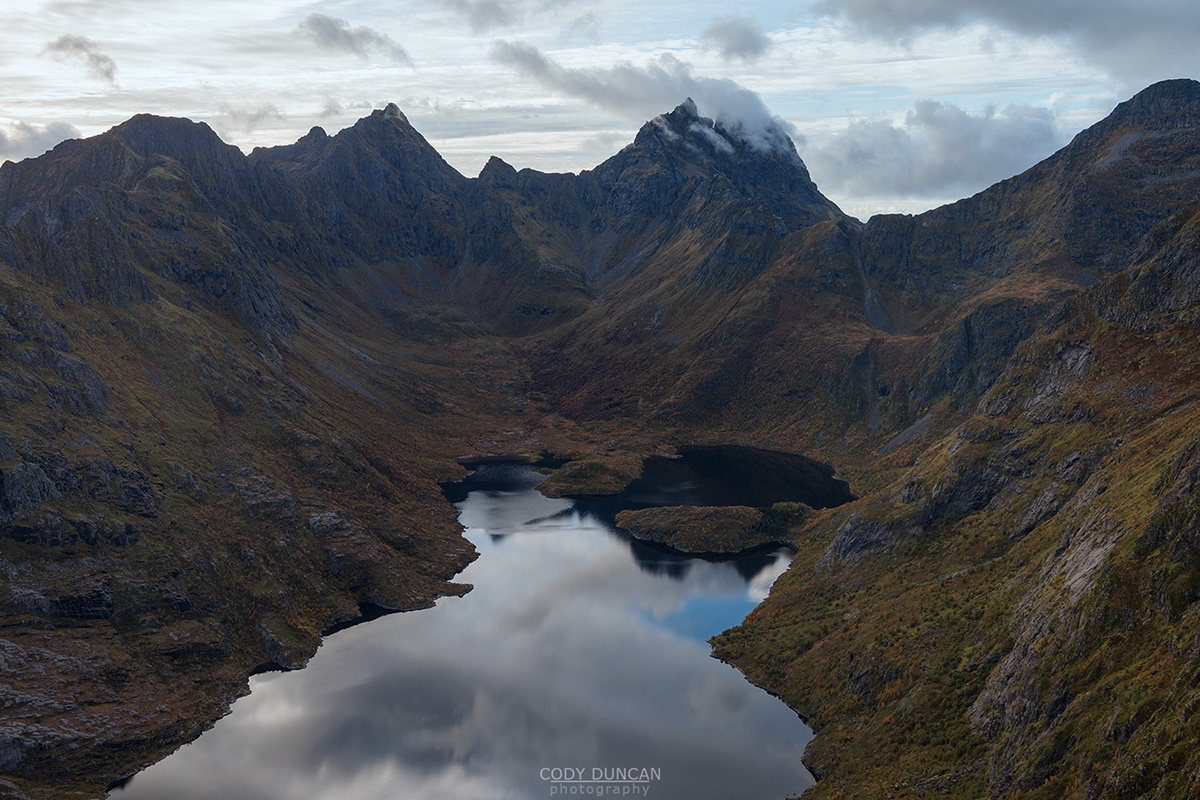
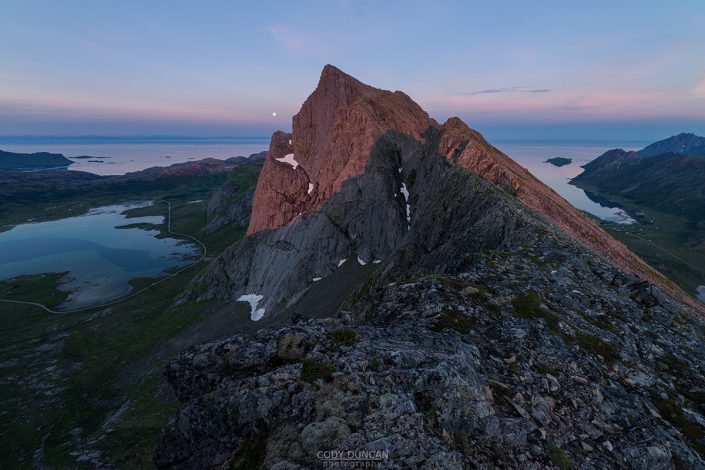
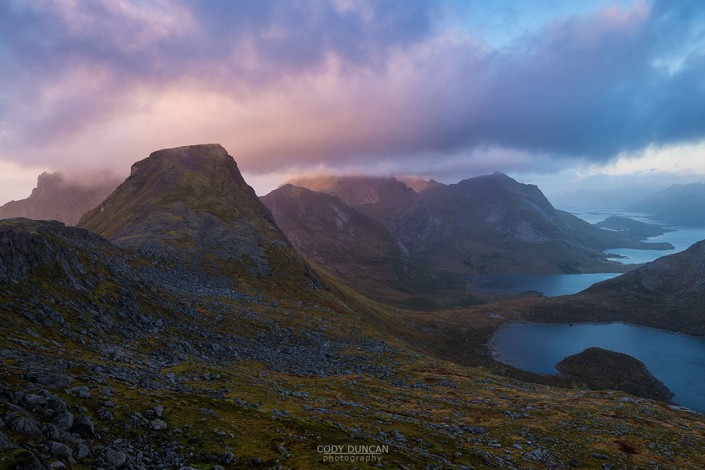
Located near the westernmost end of the E10, Tindsind is one of the last mountains on Lofoten which can be reached by trail. After a nice hike with some exposure, you are rewarded with fantastic views over Å and lake Ågvatnet. At a moderate 490 meters, Tindstind is a good introduction to what an average mountain trail on Lofoten can be.
Getting There
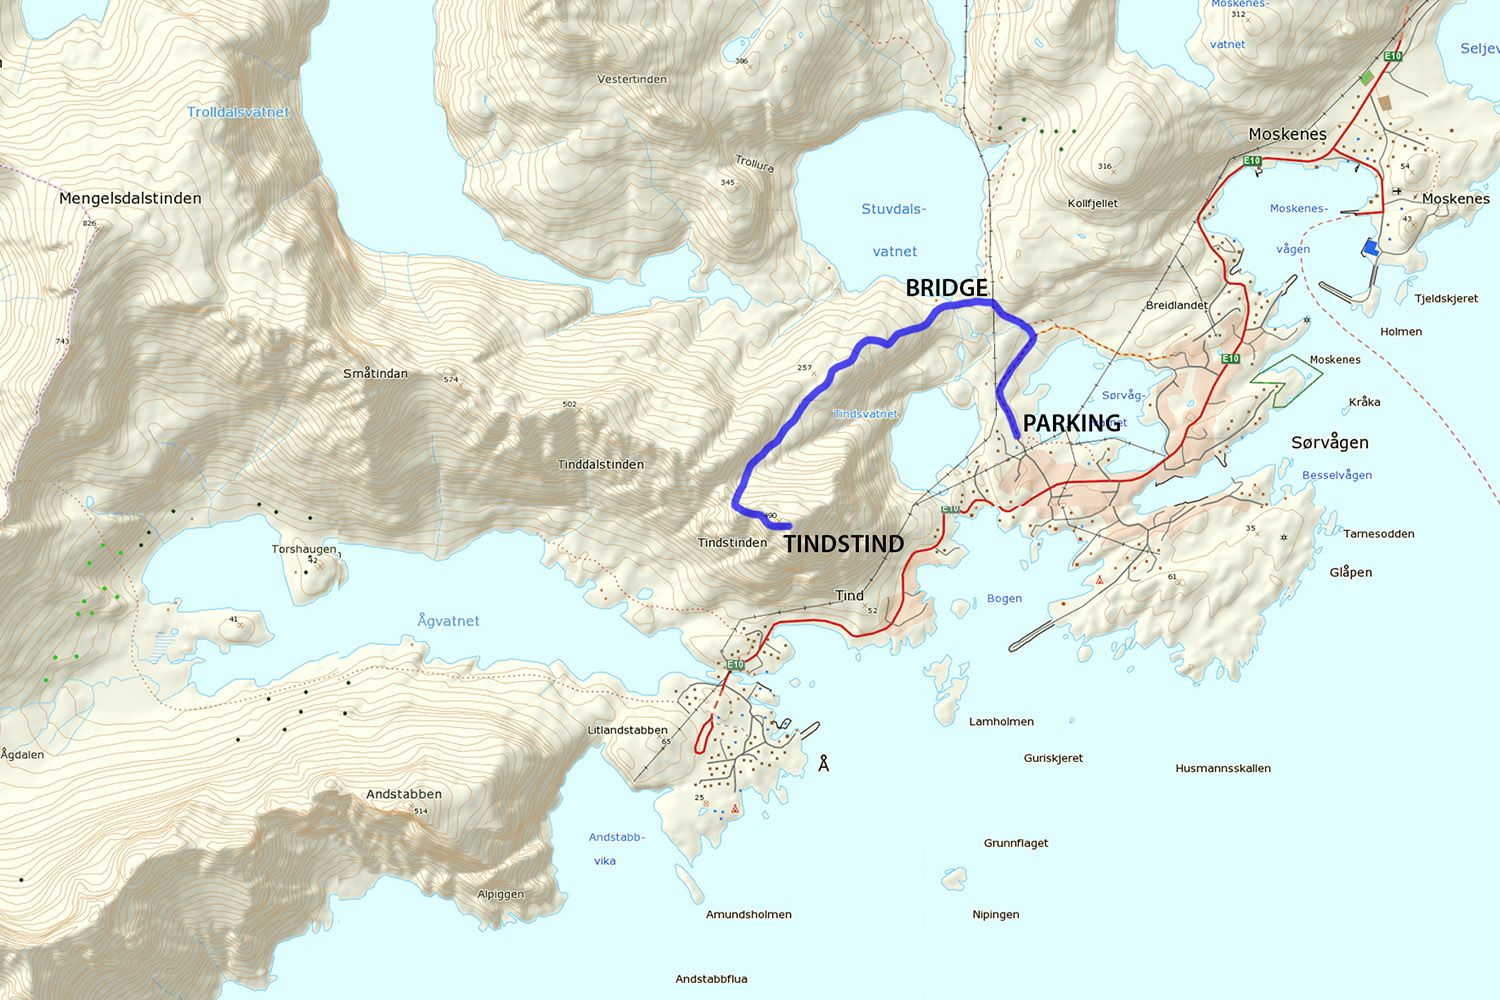
The trail begins on the north side of the lake Sørvågvatnet (the large lake in the middle of Sørvågen). There are trails approaching from either side of the lake, but the best parking is on the west side of the lake, so I will provide directions for this.
Driving into Sørvågen heading west (in the direction of Å) you will pass lake Sørvågvatnet on the right. Look towards the waterfall at the far side of the lake, as this is where you will pick up the trail. Next, you will pass the large building of the school on your left. Shortly after this, you will see a white sign marked ‘Holmen,’ just before a small road on the right with a bunch of mailboxes on the corner. Go right on this road (not towards Holmen, which is left). After several hundred meters, there will be a fork in the road, continue right, and you will see the large parking area. Park here.
Take the pathway next to the building at the end of the parking area and follow it towards the back of the lake. As you near the waterfall, you will see the trail. Cross the small bridge over the river and continue up the hill.
The trail
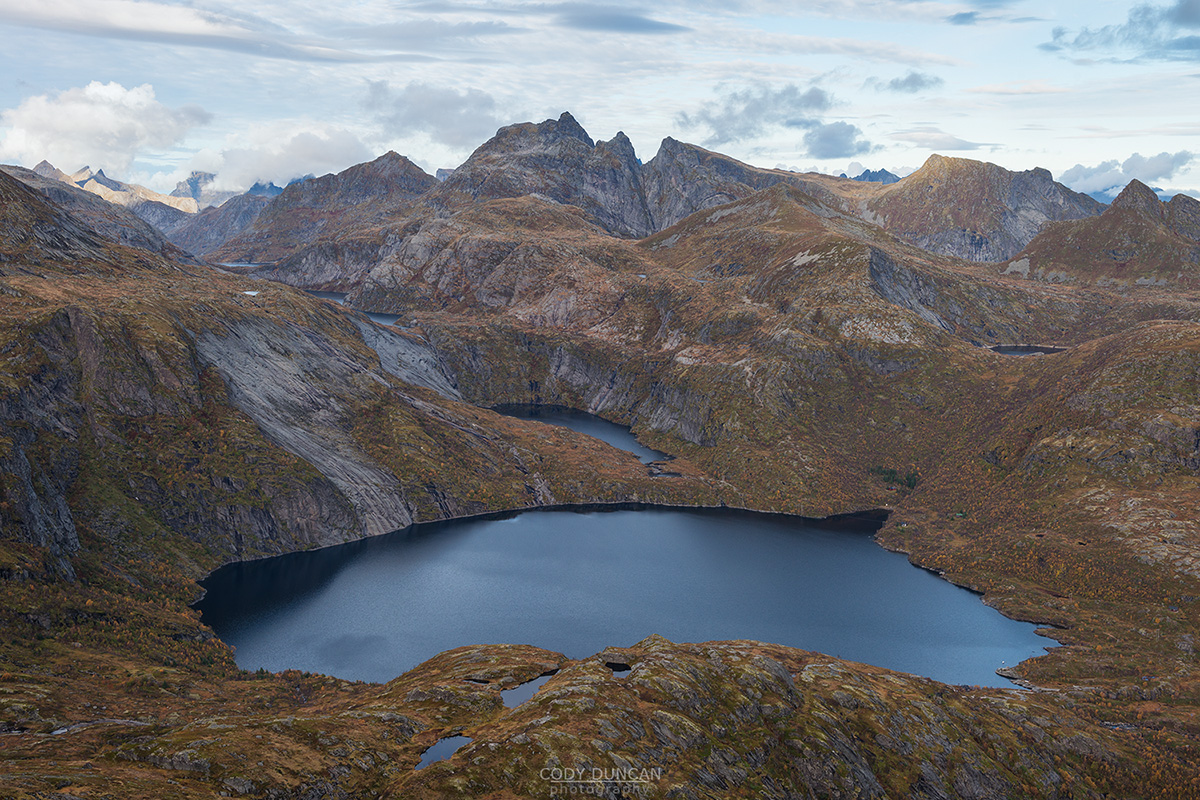
Continue on the trail and uphill towards lake Stuvdalsvatnet. The trail begins to flatten as you near the lake, still about 50 meters away. From here, look for a trail on the left, leaving the main trail. There are several options here, so whichever you take doesn’t matter too much. However, as you approach the river, look for the bridge just along the southern shore of the lake. Cross the river here.
Having crossed the river, continue on the trail up the hill straight ahead of you (don’t take the trail that continues towards the right, along the shore of the lake). From here, you gain elevation as the trail continues up the hillside. If it has rained recently, then this section will be muddy and slippery, and increasing erosion is occurring, leaving bare rock in places. Take what looks like the best option.
Soon the trail will flatten out slightly and you’ll arrive at a short, but steep rock step. A rope is fixed here, so use that to help yourself down. And use the rope on the other side, as the rock can be slippery. After this, continue along the trail.
You will soon reach a small highpoint at about 250 meters, with a summit box. Beyond here, the trail passes some small ponds before descending slightly into a small valley. The center here is boggy, particularly early in the summer, so keep along the right side.
The trail climbs, staying mostly on the right side of the valley. Some rocky sections need to be passed and then the trail begins a moderately steep ascent to the ridge. There are two options here, a left and a right, either way works, but staying on the left is slightly less steep.
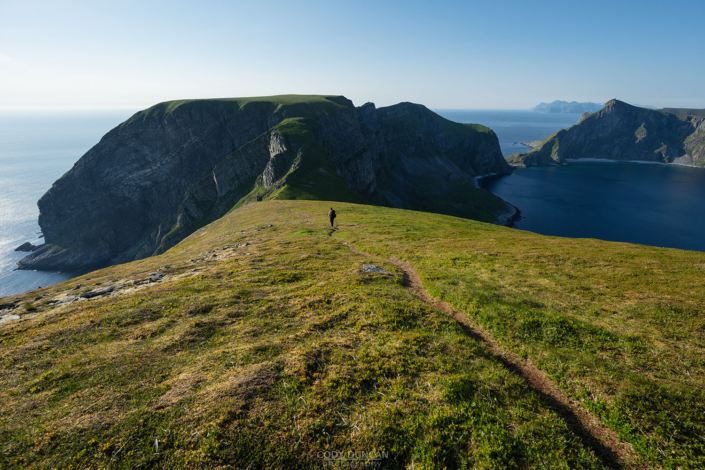
Reaching the ridge, the trail now continues to the left, always remaining clear and visible. There are some ropes initially, mostly needed for descent if wet. There are also some chains, as the trail traverses the right side of the ridge. Those with a fear of heights might have an issue here, but the hiking still remains easy. A few more rocks, some turns, and soon you’ll arrive at the summit.
Camping
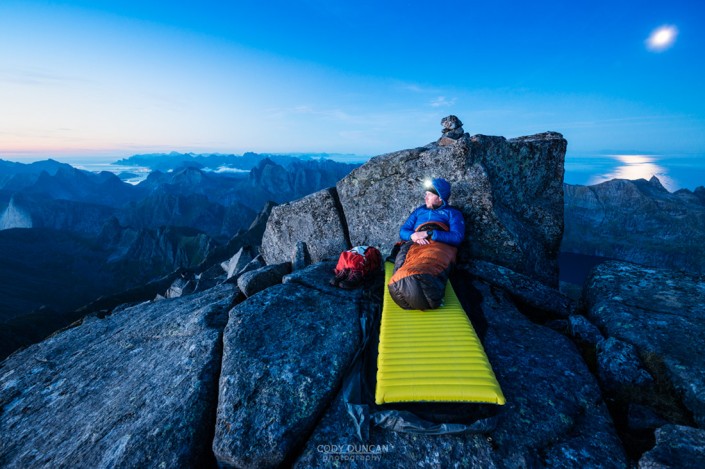
Several camping options on and near the summit.
No water available.

